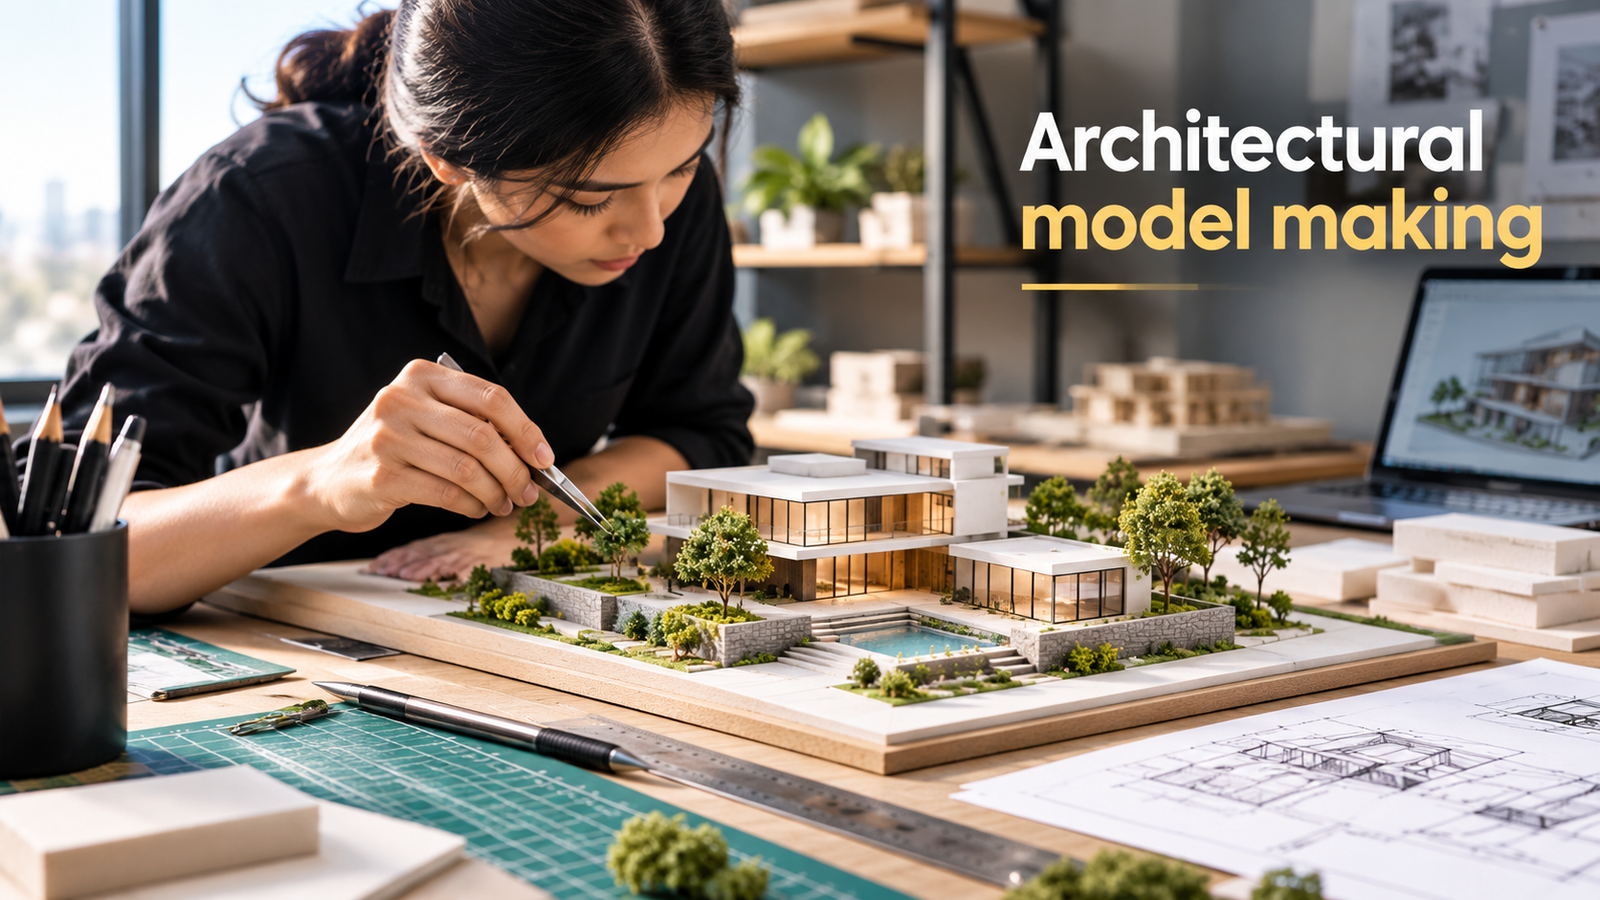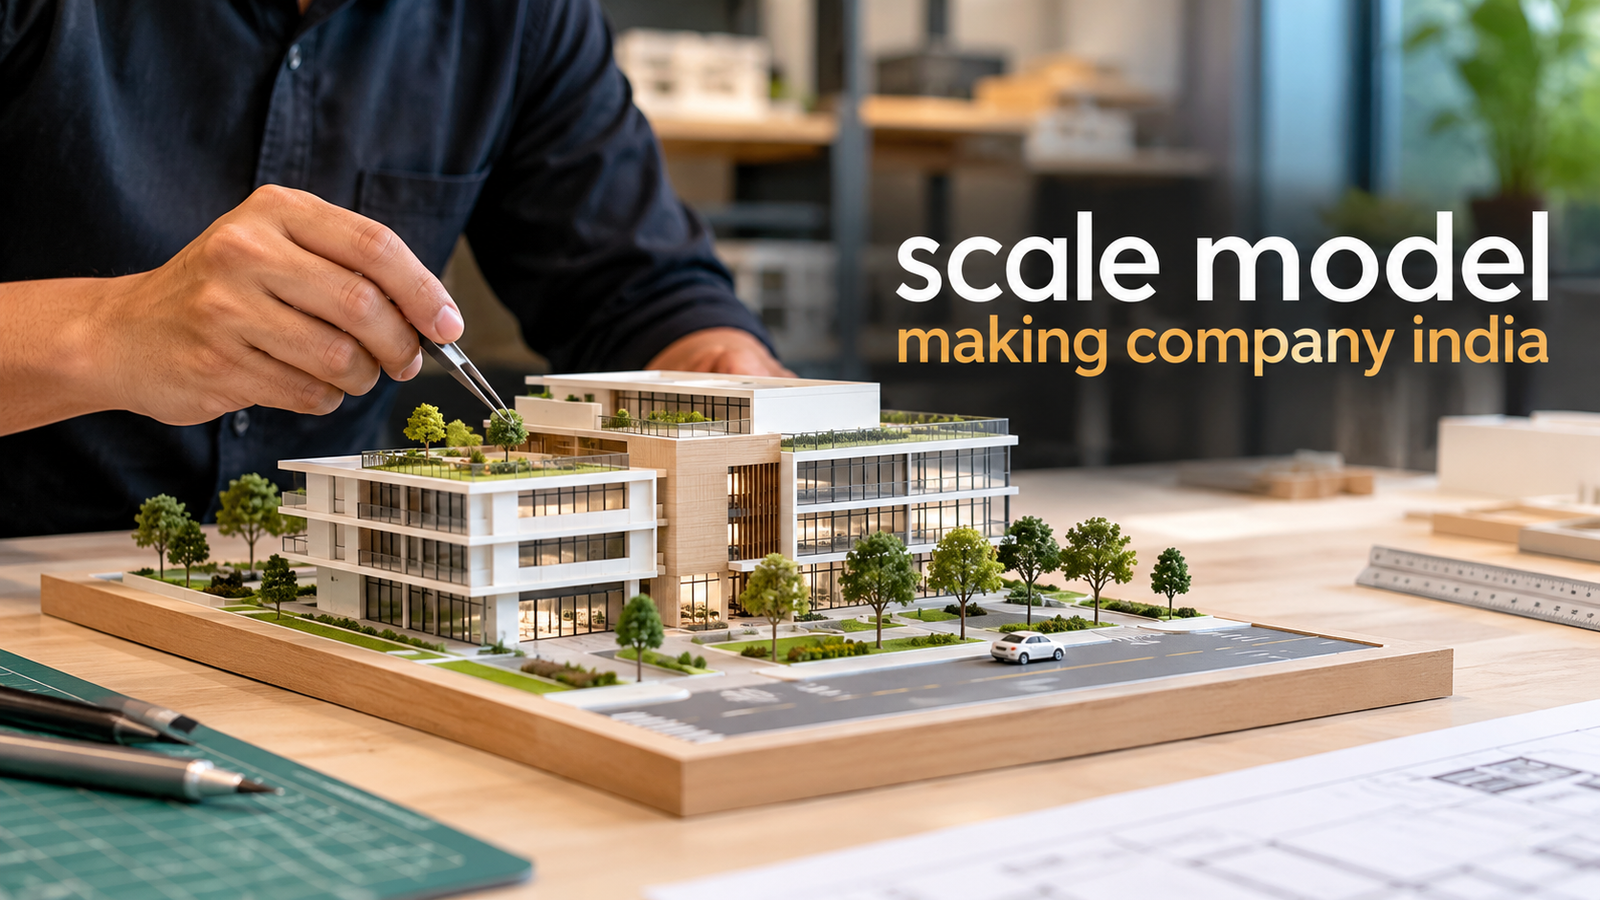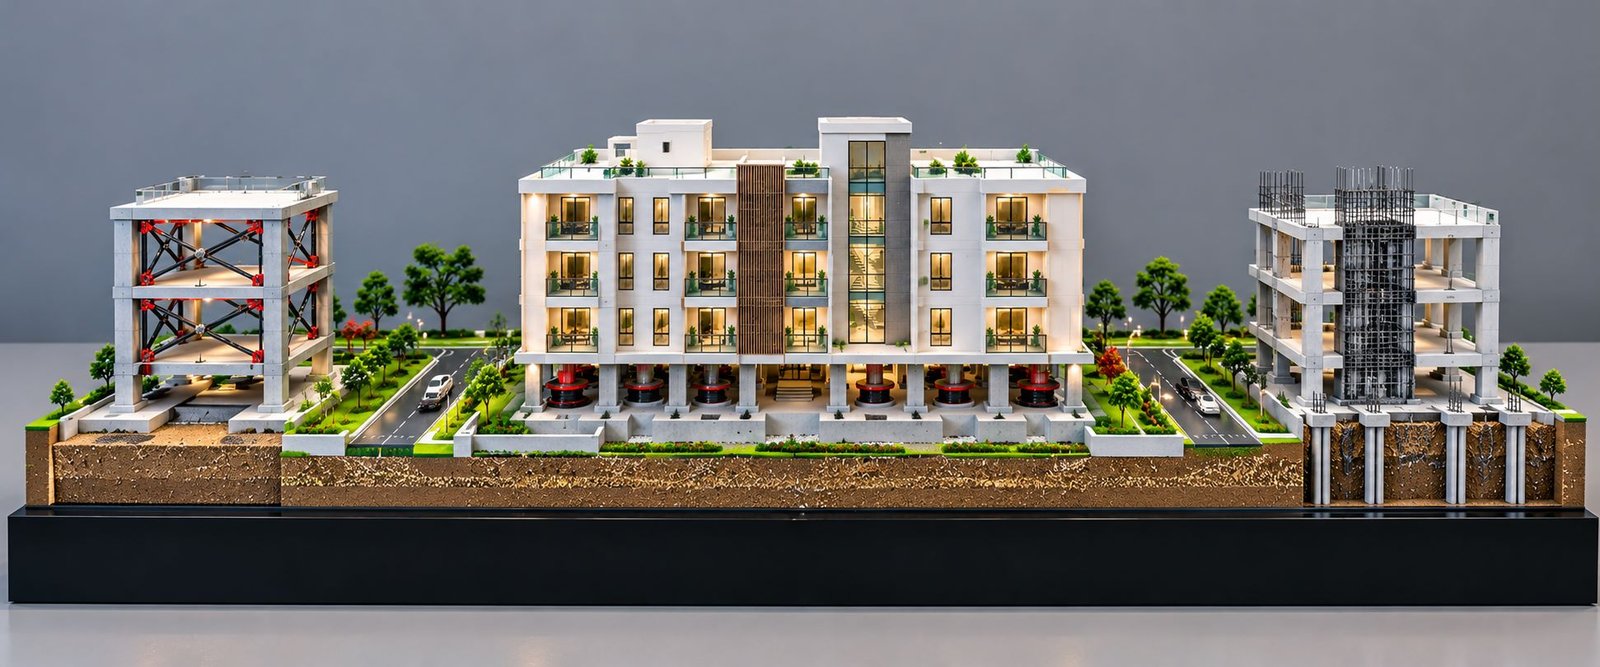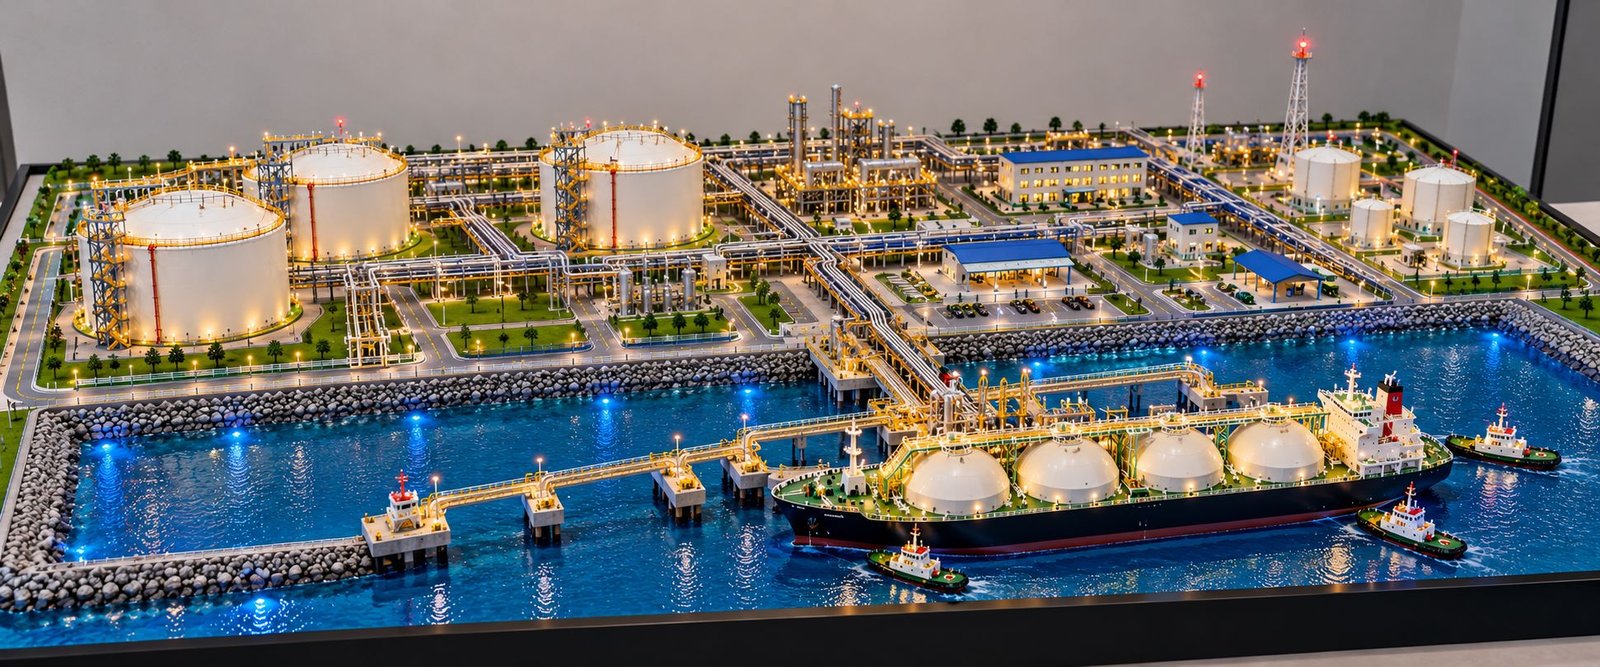
Open any architect’s studio and you will find a shelf of old models: white card massing studies, a foam sketch of a courtyard, a finished piece in a dusty acrylic case. Each one marks a moment when an idea stopped being a line on paper. Architectural model making is a slow, hands-on craft, and in spite of software that can generate a building in minutes, it has never gone out of fashion. If anything, clients ask for it more than they used to.
This article walks through the process the way a workshop sees it: why models get built, what kinds exist, how a piece moves from drawing to display, and where projects tend to stumble.
What an Architectural Model Is Really For
People assume a model is a sales prop. Sometimes it is. But most models start life as thinking tools. A designer cuts a few pieces of card, stacks them, and suddenly sees that the building shades its own courtyard. That discovery would have taken longer on a screen, if it surfaced at all.
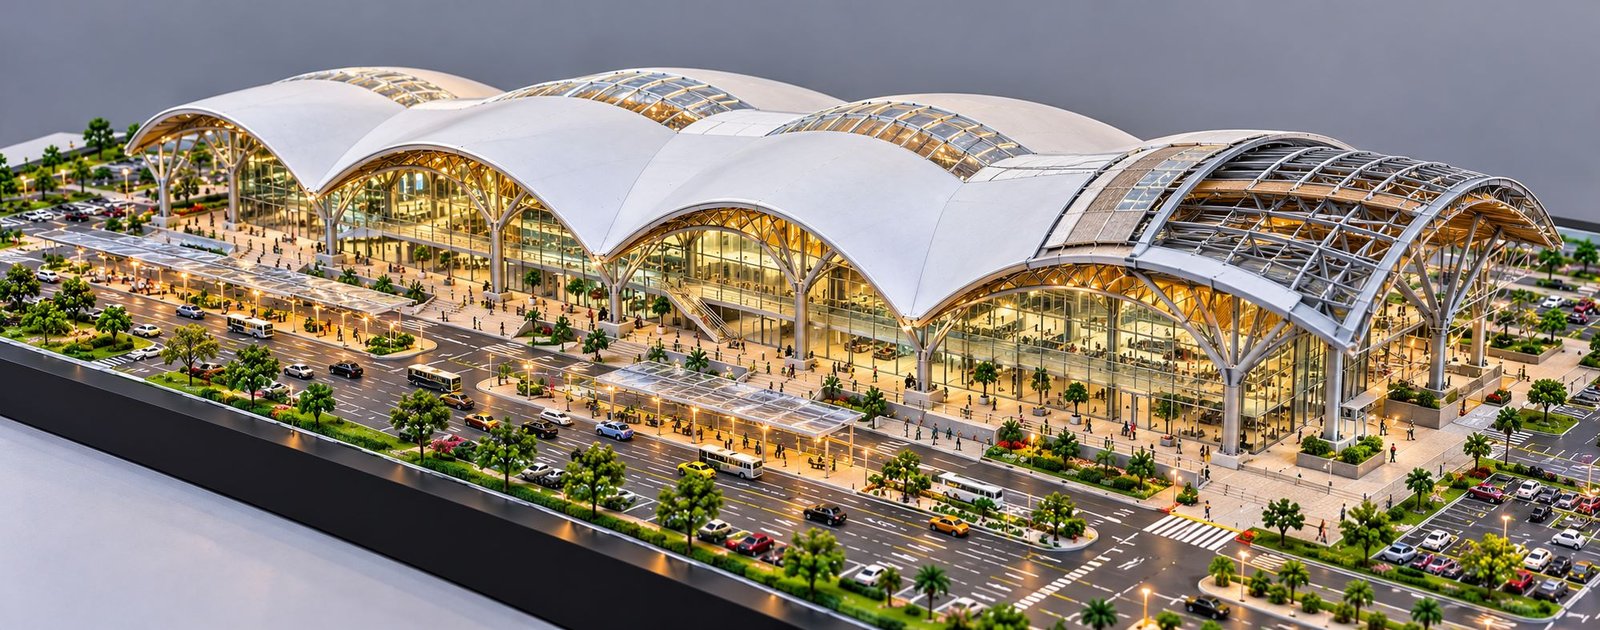
Later in a project, models change purpose. A presentation model helps a client sign off on a design. An exhibition model draws visitors to a stand. A planning model helps a municipal committee understand how a new block sits beside its neighbours. A sales model, placed in the gallery of a residential project, lets buyers find their own balcony. The purpose decides everything else: scale, finish, materials, budget and how long it takes.
The Main Types of Models
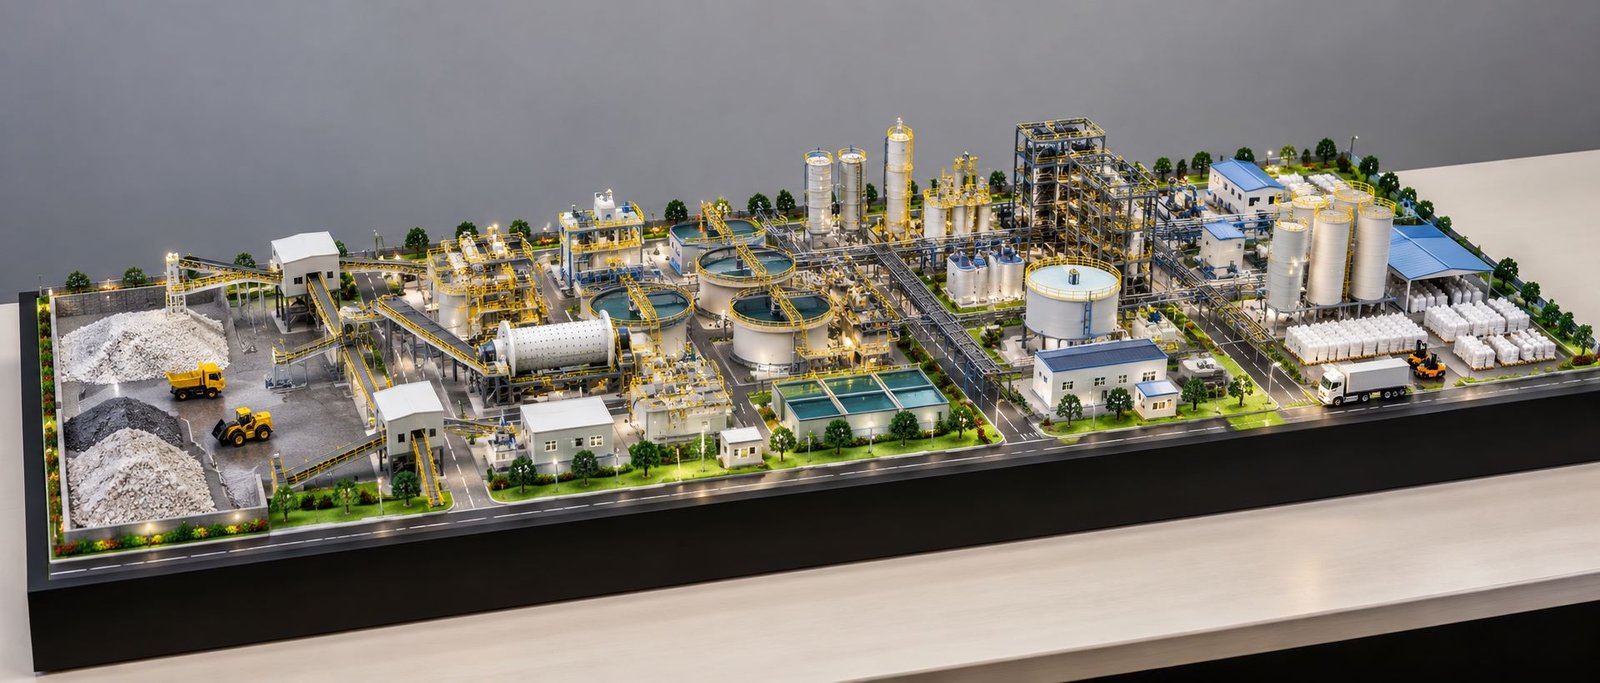
Concept models are quick and rough. They use card, foam or clay, and they exist to test an idea, not to impress anyone. Working models come next, with more accuracy, and are used in design reviews and for checking structure, light and circulation. Presentation models are the polished ones, with clean surfaces, accurate detail and a proper base. Sectional models show a building sliced open so you can see floors, stairs and services. Interior models focus on a single apartment or room, usually at a larger scale, with furniture and finishes. Site and township models show a whole neighbourhood, roads and landscape included.
Many projects need more than one. A developer might commission a township model for the sales gallery, a tower model for the exhibition stand, and a sample flat model for the show apartment. Each speaks to a different buyer at a different moment.
Step by Step: How a Model Gets Built
Each stage of architectural model making follows a rhythm that seasoned craftspeople know well, and skipping any stage tends to show in the final piece.
It begins with the brief. The maker asks about purpose, audience, display location and deadline. Then comes the drawing review. Plans, elevations, sections and site levels are checked for missing dimensions and conflicts. Errors found here cost nothing. Errors found after cutting cost days.
Next the team agrees on scale and materials, and often prepares a small sample of facade finishes so the client can approve colours and textures before the full build. After that, files are prepared for cutting. Laser cutters handle flat parts such as floor plates, facades and windows. CNC machines carve contours and larger bases. 3D printers produce small, complex items such as balconies, sculptures and furniture.
Assembly follows, and this is where patience matters most. Floors are stacked and checked for alignment. Walls are glued, clamped and left to settle. Joints are filled and sanded. Then comes priming and painting, which usually takes more time than people expect, since each coat needs to dry fully. Landscaping, vehicles, figures and lighting go in last, followed by a final inspection, a protective cover and careful packing.
A realistic schedule for a medium model runs from two to six weeks. Larger, more detailed pieces take longer. Rushing any stage only creates problems later.
Materials Worth Knowing
Card and foam board are the sketching materials: cheap, fast and easy to correct. Basswood and balsa have a warm, natural look and suit residential and heritage projects. Acrylic is the most common material for presentation models. It cuts cleanly, comes in clear, frosted and coloured sheets, and handles light beautifully. MDF makes sturdy bases and terrain layers. Resin and printed plastics deal with small curved or intricate parts. Brass and other metal pieces appear in railings, lamp posts and fine structural elements.
A skilled maker will often combine materials. Clear acrylic for glass towers, textured paper for sloping roofs, painted foam for gentle terrain, and tiny metal rods for railings. The mix is chosen for effect, not only for cost.
Scale, Detail and Context
Scale is the first big decision, and a tricky one. At 1:500, a tower is a neat block with painted windows. At 1:100, you see balconies, mullions and entrance canopies. At 1:50, you can look through windows into furnished rooms. The larger the scale, the more detail is expected, and the more time and money it takes.
Context matters just as much. A building alone on a white board looks lonely and tells you little. Adding neighbouring structures, roads, trees and water gives the piece scale and meaning. Often, nearby buildings are shown in plain white or grey so the main project stands out. This approach keeps the focus where it belongs while still showing how the design fits in.
Terrain deserves a mention too. Contours can be built from stacked layers of board, smoothed and painted, so slopes read correctly even from across the room. Where a site has a river, a road cutting or a steep edge, the model should show it honestly, because those features shape a design more than most people notice.
Lighting, Landscaping and Small Human Touches
Lighting is what makes people stop. Warm LEDs glowing inside a building give it life in a way no paint finish can. Road lighting, pool glow and lit signage add atmosphere. Good makers plan the wiring from the start, hide it inside bases and walls, and group circuits so sections can be switched on separately.
Landscaping works the same way. Trees made from wire and foam, lawns from textured sheets, water from clear resin, paths from fine sandpaper. Colours need restraint. Too much bright green makes the whole piece look like a toy shop. Tiny figures, cars and street furniture finish the scene, giving the eye something to measure against. Keep them sparse and believable.
Display matters as well. A solid base, a clean plinth and a clear cover protect the work and set the tone. Add a small label with the project name, scale and north point, so visitors understand what they are looking at without asking.
Common Mistakes Clients Make
The most frequent mistake is changing the design after production begins. A floor added to a tower, a shifted road, a revised facade: each one forces rework, and costs grow quickly. Freeze the design before cutting starts, or agree how late changes will be handled.
The second is a vague brief. “Make it look luxurious” means different things to different people. Share photographs, colour references and examples of models you like. The third is underestimating time, especially for painting and lighting. Good work cannot be hurried.
The fourth is ignoring logistics. A model that does not fit through the gallery door is an expensive problem. Tell your maker about the venue, lifts, doors and transport. Large models are often built in sections, with joints planned to vanish once assembled.
Finally, some clients skip approvals along the way. Check the first massing, the finish samples and the final model before it ships. Ten minutes of attention at each stage can save weeks.
Models and Digital Tools Together
Software has changed the workflow without replacing the craft. 3D modelling lets makers test shapes, prepare files for cutting and catch clashes early. Renders help clients agree on colours. Virtual walkthroughs add a second layer for buyers who want to see interiors. But none of these tools gives you the experience of leaning over a table, pointing at a corner and asking a question. People trust what they can see in the room with them.
The smartest projects use both. The model brings people in, the screen answers detailed questions, and the printed brochure goes home with them.
Closing Thoughts
Good work in architectural model making rewards patience, clear briefing and honest conversation. Share your drawings early, explain the purpose of the model, agree on a realistic timeline, and give your craftspeople room to do their best. The result will be a piece that people remember, photograph and talk about long after the presentation ends.
If you are planning a model for a project, start with the question of who will look at it and what you want them to understand. Everything else, from scale and material to lighting and finish, follows from that. A workshop with experience will help you answer it, and Pal Design Models is one team that works this way, with drawings reviewed first and the finished piece checked thoroughly before dispatch.